Producing Vocals
Setting up a vocal production chain can feel like a balancing act, but this specific six-step
workflow is a gold standard industry foundation. It follows a simple, logical philosophy:
correct, control, and then sculpt. By addressing background noise and low-end rumble first with
a denoiser and high-pass EQ, you ensure that your subsequent processors aren't reacting to
garbage frequencies. This clean signal then feeds into your first compressor, which acts as a
stabilizer to smooth out the wildest peaks before a de-esser tames any harsh sibilance ("S" and
"T" sounds) aggravated by that initial compression.
Once the vocal is pristine and dynamically controlled, the final two steps focus on polish and
presence. The second EQ is purely additive or shaping—this is where you carve out a little muddy
low-midrange or boost the high-end "air" to help the vocal cut through a dense mix. Following
this with a second, gentler compressor (often a vintage optical or variable-mu emulation) glues
the tonal changes together and adds pleasing harmonic warmth. This "serial compression" approach
(using two compressors doing a little work rather than one doing a lot) keeps the vocal sounding
incredibly natural, upfront, and radio-ready right out of the gate.
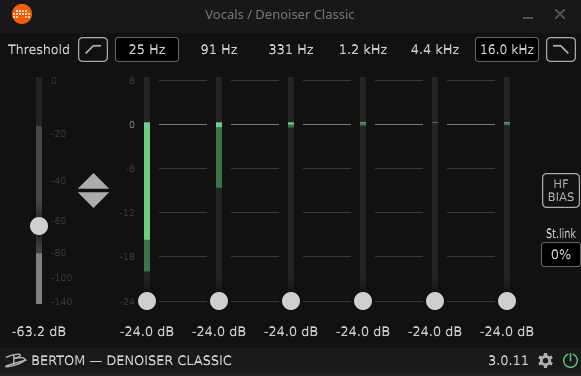
1. Denoiser
Start by placing a denoiser at the very beginning of your chain. Its primary job is to target and
mute background distractions like headphone bleed, AC hum, or microphone hiss. Removing this
ambient noise early ensures that your subsequent compressors won't accidentally pull it up and
make it louder later.
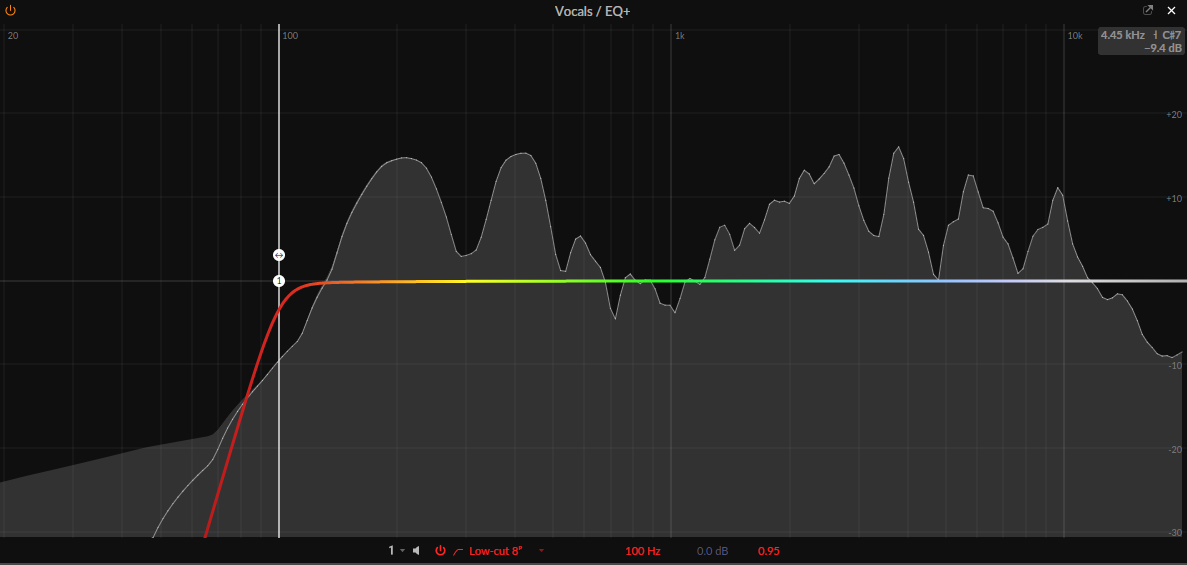
2. High-Pass Filter (120Hz)
Set a high-pass filter with a steep curve at 120Hz to roll off all unnecessary low-end
information below this point. This instantly eliminates muddy mic-stand rumbles, foot stomps,
and low-frequency room build-up. Cleaning this out frees up massive headroom for your
compressors to work more efficiently.
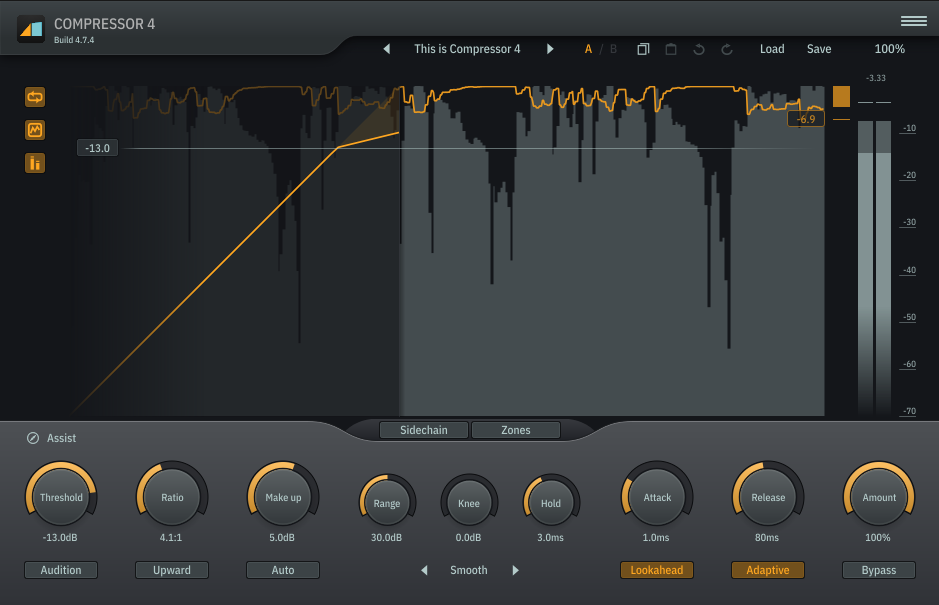
3. First Compressor (Peak Control)
Configure your first compressor with a fast 1ms Attack, an 80ms Release, and a 4:1 Ratio. Lower
the threshold until you hit roughly -10dB of gain reduction on the loudest peaks, then dial in
+10dB of Makeup Gain to restore the lost volume. This aggressive first pass clamps down on wild
dynamic spikes to stabilize the vocal.
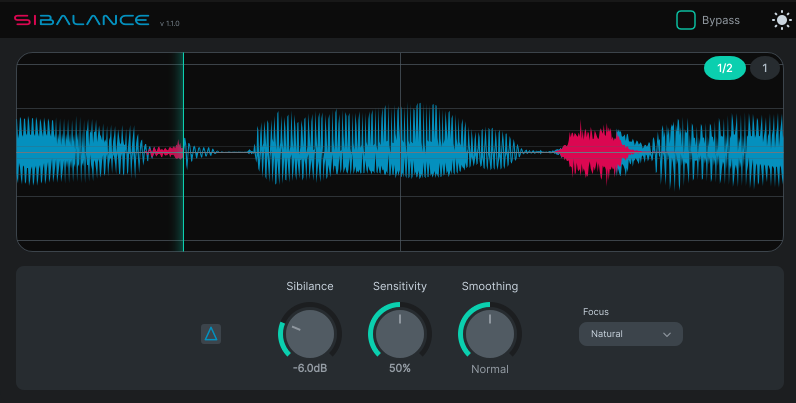
4. De-esser
Insert a de-esser here to target harsh sibilance ("S", "T", and "Ch" sounds). Because the
previous compressor flattened the peaks and naturally pushed the quieter, hissy frequencies
forward, the de-esser is now perfectly positioned to catch and transparently tame that top-end
harshness before it hits your tonal EQ.
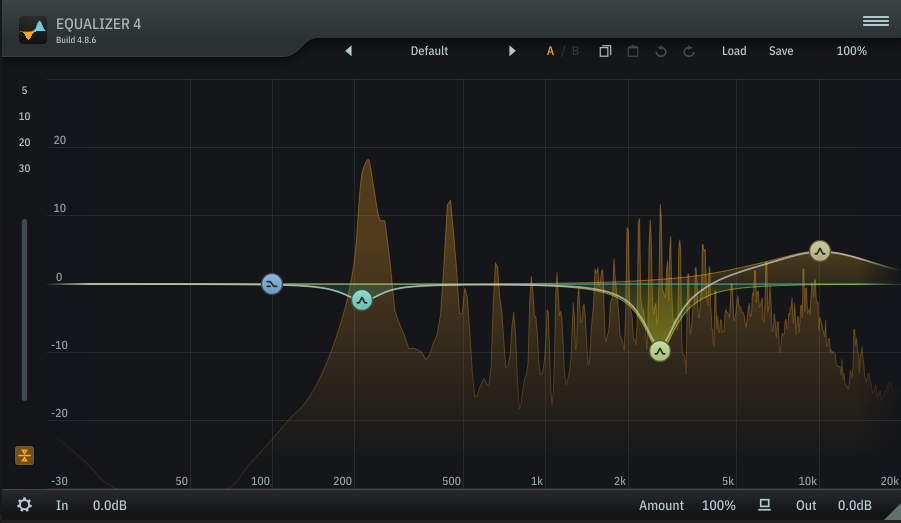
5. EQ (Tone Shaping)
Shape the vocal's character by making four specific moves:
Low-Mids (~200Hz): Pull this down with a wide cut to clear out room muddiness.
Upper-Mids (~2.6kHz): Use a narrow cut to surgically remove annoying nasal or piercing
frequencies.
Top-End (10kHz–12kHz): Push this up with a gentle high-shelf boost to introduce
expensive-sounding "air" and clarity.
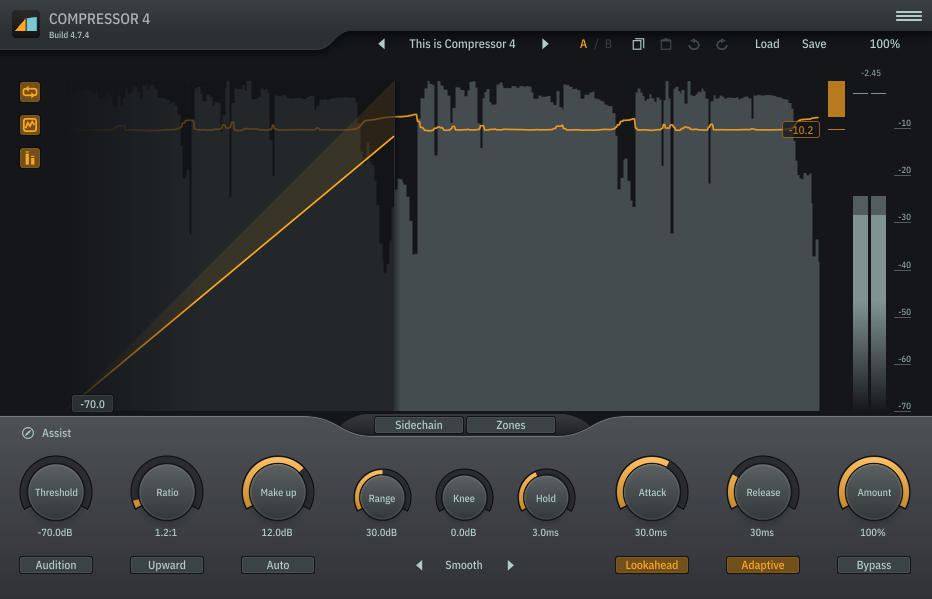
6. Second Compressor (Glue & Tone)
Finish the chain with a second compressor set to a slower 30ms Attack and a 30ms Release. Pull
the threshold all the way down, hit play, and gradually turn up the ratio until you reach about
-5dB of gain reduction, using the makeup gain to match the output volume. This final stage acts
as an acoustic glue, smoothing out your EQ adjustments and giving the vocal a polished, upfront
record finish.